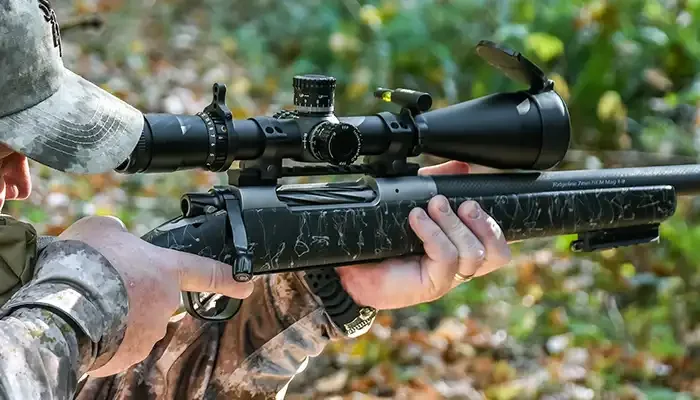
Just buying the scope and mounting it on top of your scope isn’t the end of it. You will need to zero it and then use it. To have a proper zero reading on the scope, the scope needs to be mounted and aligned correctly.
For a comprehensive guide on properly mounting your riflescope. But let’s find out how to align a scope together.
What Is A Riflescope?
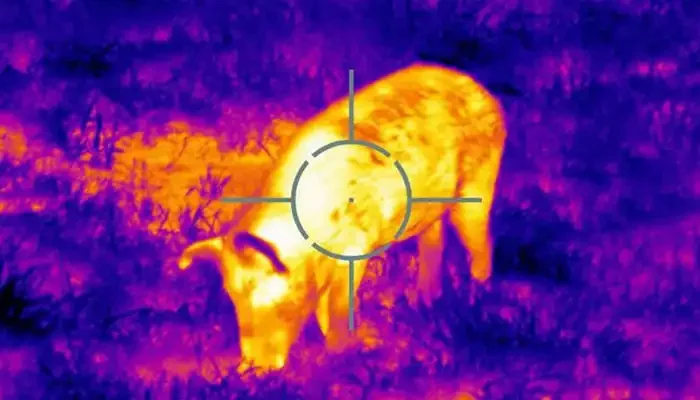
Before we begin aligning our crosshair, let’s find out what a riflescope is and what its job is. A scope is a tool that helps a shooter hit his targets with accuracy from afar. A scope is essentially a magnifying tool but with more accuracy. If you are shooting at a longer range and red dot sights won’t cut it, then a scope is a must for you.
Aligning The Scope
Before you begin the process, there are some necessary steps that you need to take. One of them is mounting the scope the right way. That includes shimming if necessary.
Step 1: Properly Mount The Scope Rings
Make sure your scope rings are properly mounted on the rifle. If you are not using any rails on your rifle, then make sure there is nothing in between the ring and your gun’s body.
Step 2: Distance Between Your Eye And The Scope
Make sure the distance between your eye and the scope is long enough. Just long enough to make you not see blurry and retain the wide field of view as well. If you do that, you won’t need to adjust your head every time you shoot at something new.
Step 3: Level Your Scope
Level your scope. You can find a full guide on how to level your scope over here. Without proper leveling, you can’t fire your shots accurately. You will aim at something but your bullet will go somewhere else. So, make sure to level your scope.
Step 4: Align The Reticle
Align the reticle. Essentially, this is what most people refer to as “aligning the scope”. The best way to do this is, to brace your gun and find a flat spot to lay the receiver on. Make sure the gun is vertical and isn’t tilted at all. You can use some bubble levelers if necessary.
Now, place the scope on your mounting rings and slowly tighten the grip of the screws. Make sure to see first if your crosshair is aligned with the surface of the object. As you keep tightening, see if the crosshair is still aligned or if it’s getting misplaced. If it does, then you will need to do this step again.
Conclusion
And that’s about it. With proper eye relief and crosshair alignment, you now have a scope that is ready to fire. But keep in mind to test it out before finalizing the build and calling it a day. Fire a couple of shots and see if the zero is still zero or not. If the crosshair is moving or tilted a bit, then you messed up installing the scope. Do it from the start again.
With that said, thanks a lot for reading and I hope you found this guide easy to understand and follow along. Hope to see you on the next one. Till then, take care and have fun.
Scopes:- 17 Hornet | 220 Swift | 22 Hornet | 28 Nosler | 35 Whelen | 375 HH | 444 Marlin | 458 SOCOM | 460 XVR | Ar 10 308 SHTF Tactical | Benjamin 392 | CETME | CMP Service Rifle | Crickett 22 | Crossman 1377 | CVA Optima | CVA Wolf | Daisy 880 | Diana 460 Magnum | FX Crown | FX Wildcat | Gamo Bone Collector | Gamo Silent Cat | Pre 64 Model 70 | PRS Production Class | RWS 54 Air King | RWS Diana 34 | Saint Victor 308 | Savage 64F | Savage 99 | Savage Mark II Tikka T1X | Tikka T3 | Weatherby Vanguard
Hi, I’m Brent Hansford. A writer turned hunter & now sharing my love for the sport through writing. As I practically breathe weapons, I firmly believe I’m capable of providing you with new knowledge about firearms and hunting. My mission is to help more people get better at hunting & master the weapons. Let me help with unleashing the beast within you!