If you are someone who has a passion for painting all of their stuff to match their preference, chances are you want to paint your scopes and rifle accessories as well. And if you are a plinker and your circle has some funky-looking scopes, what’s stopping you from making your own?
Oh, that’s right, the process. So, how to paint a riflescope then? That’s a very good question, my friend. Let’s find out the easiest process.
Gather Your Materials
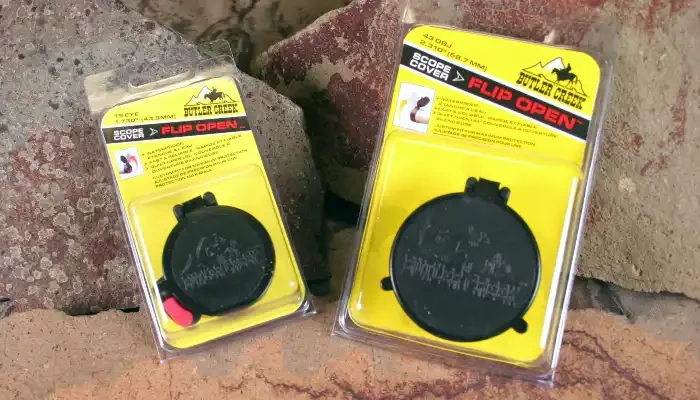
The first thing you will need is some paint cans. If you are looking for some inexpensive but well-made cans, Rustoleum Camouflage cans are quite good and you will find them almost everywhere.
The next thing you will need is masking tape. Masking tape is a must for the process. It will save you from accidents and make sure your stripes and pattern are the way you intended.
Last but not least, pattern stencils. If you have a pattern in your mind or have it printed down, then stick the pattern on your scope with some tape and draw the pattern on the scope with some pattern stencils.
Step 1
The first step is preparing the scope for the painting process. Clean the scope with a microfiber cloth and some alcohol pad. Make sure the surface has no oil, dust, or residue from your fingers.
The next step is to tape the scope. This is where masking tape comes in. This step is very important. You will need to make sure to mask the lenses and the areas where you don’t want paint to get into.
Step 2
This is where the fun begins. Find a place where you can use spray cans and not worry about ricochet or paint spread. Ideally, you can use a big cardboard box and paint the scope inside that box.
Start with the base layer. Use the lightest color of paint you have. Then apply a light coat. The idea is to have many light coats but not one concentrated coating of the same color.
Once you are done with the light coating, you can move on to the main color. This is also the step where you will color/design your pattern.
If you have another color for the place that is not part of the pattern, then use masking tape again to hide everything besides that place and apply some coat of color again. Repeat these steps till you have the desired pattern and color.
Step 3
This is the final step. While this step is the easiest, it’s also the most tedious process. Leave the scope in an isolated place for at least 24 hours. This will make sure the paint sticks to the body and there is no runny or fading color present on the scope.
Once you are done waiting, take out the scope and start peeling off the masking tapes. Lo and behold, you now have a scope that is not only tuned for you uniquely, it’s also colored for you.
Conclusion
And that’s about it. See, it wasn’t that hard. If you see some videos and read articles on the process, the steps might seem complicated. But it’s not really that hard. Just make sure to follow the steps slowly and don’t rush.
That’s all for now folks. Thanks for reading as always. Hope to see you at the next one. Till then take care and have fun.
Scopes:- 17 HMR | 17 WSM | 204 Ruger | 224 Valkyrie | 22 Magnum | 243 Winchester | 257 Weatherby | 270 Winchester | 3 Gun | 300 PRC | 338 Lapua | 350 Legend | 375 HH | 44 Magnum | 450 Bushmaster | 50 BMG | 6.5 Creedmoor | 6.5 Grendel | 6.8 SPC | 7.62.39 | Benjamin Marauder | Henry H001 | M1a | Marlin 336 | Marlin 795 | Marlin Model 60 | MK12 | Ruger Gunsite Scout | Ruger Mini 14 | Ruger Mini 30 | Savage 220 | Scar 20S | Sig 716
Hi, I’m Brent Hansford. A writer turned hunter & now sharing my love for the sport through writing. As I practically breathe weapons, I firmly believe I’m capable of providing you with new knowledge about firearms and hunting. My mission is to help more people get better at hunting & master the weapons. Let me help with unleashing the beast within you!