Let’s say that you don’t want to spend a ton of money behind a digital night vision scope but you want to record your adventure regardless. There are ways of mounting a camera on top of a scope or a crossbow with some minimal tools and accessories.
If you want to know how to do the process, let me help you with that matter.
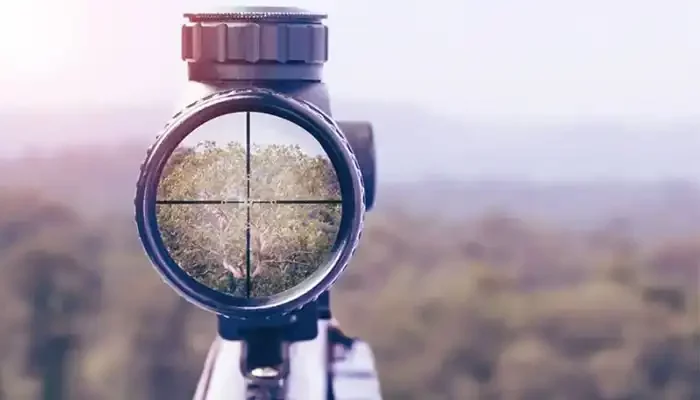
Why Do You Need A Camera On A Scope?
The idea is to record your shots and make a memory out of it or keep track of the shots that landed you the game. You can use the videos to learn from your mistakes and improve on them.
Digital night vision scopes tend to have cameras built-in to record your shots. But a traditional scope doesn’t have that feature. That’s why, if you want to record your adventure, then you will need to install a camera by yourself.
What Tools Do You Need For The Process?
You will need some basic tools for the process. Here is the list for them.
- Mount your scope on something. If you don’t have a gun vise, your rifle will do.
- Lightweight camera. Don’t buy a heavy camera that will add too much weight to your gun.
- A reflector bracket. You can steal it from your bike or you can buy one from the local bicycle store.
- 3/4 inch long 1/4 – 20 thread bolt and a washer. These are the screws that will go underneath the camera.
- A Phillips screwdriver.
- 7/8″ open end wrench.
- 1/4″ drill bit and drill.
Prepare The Mount
Once you are done gathering all of the tools and the right equipment, it’s time for you to prepare the equipment. The bicycle reflector that you got will not have screw holes wide enough to install the screws.
Use the drill bit to slowly enlarge the hole. It’s a plastic material, don’t be too rough on it. Otherwise, you might break it.
Install The Mount
Be very careful while handling the screws near your scope. You don’t want to accidentally scratch the scope.
Your reflector mount will come with a couple of rubber gaskets. They prevent scratches. Rotate the bracket in an orientation where the screws will be upwards and the solid plastic oval shape will be downwards.
Final Step
The final step is to place the camera on the mounting bracket and slowly tighten the bolt with the wrench you have. Again, be careful to not scratch or drop the wrench on the scope body. We don’t want any accidents to happen.
Once you are done installing the camera, then shake the gun a bit and see if the camera is moving or not. If it’s not moving, then it’s installed perfectly and you can now proceed to record all of your shooting adventures.
Conclusion
It’s not as hard or complicated as the YouTube videos show them to be. Or it’s not as flimsy as the duct tape method either. This method has been proven to be successful and withstanding the recoil of a sniper rifle as well.
With that said, that’s all for now. Thanks as always for reading. Hopefully, this was a useful and easy-to-follow guide for you. Hope to see you on the next one, take care and have fun.
Hi, I’m Brent Hansford. A writer turned hunter & now sharing my love for the sport through writing. As I practically breathe weapons, I firmly believe I’m capable of providing you with new knowledge about firearms and hunting. My mission is to help more people get better at hunting & master the weapons. Let me help with unleashing the beast within you!